If your furnace suddenly starts blowing cool air, it’s safe to assume it would probably be a complete nightmare. After all, winters in Ohio are so cold! We need heated homes come wintertime! Fortunately, Mason Heating & Air is always here to help you out should this happen. There might be a few reasons as to why your furnace is blowing cool air. Most of the time though, it’s probably because your pilot light has blown out. But no need to worry! We have created a step-by-step guide on how you can relight your pilot light with ease.
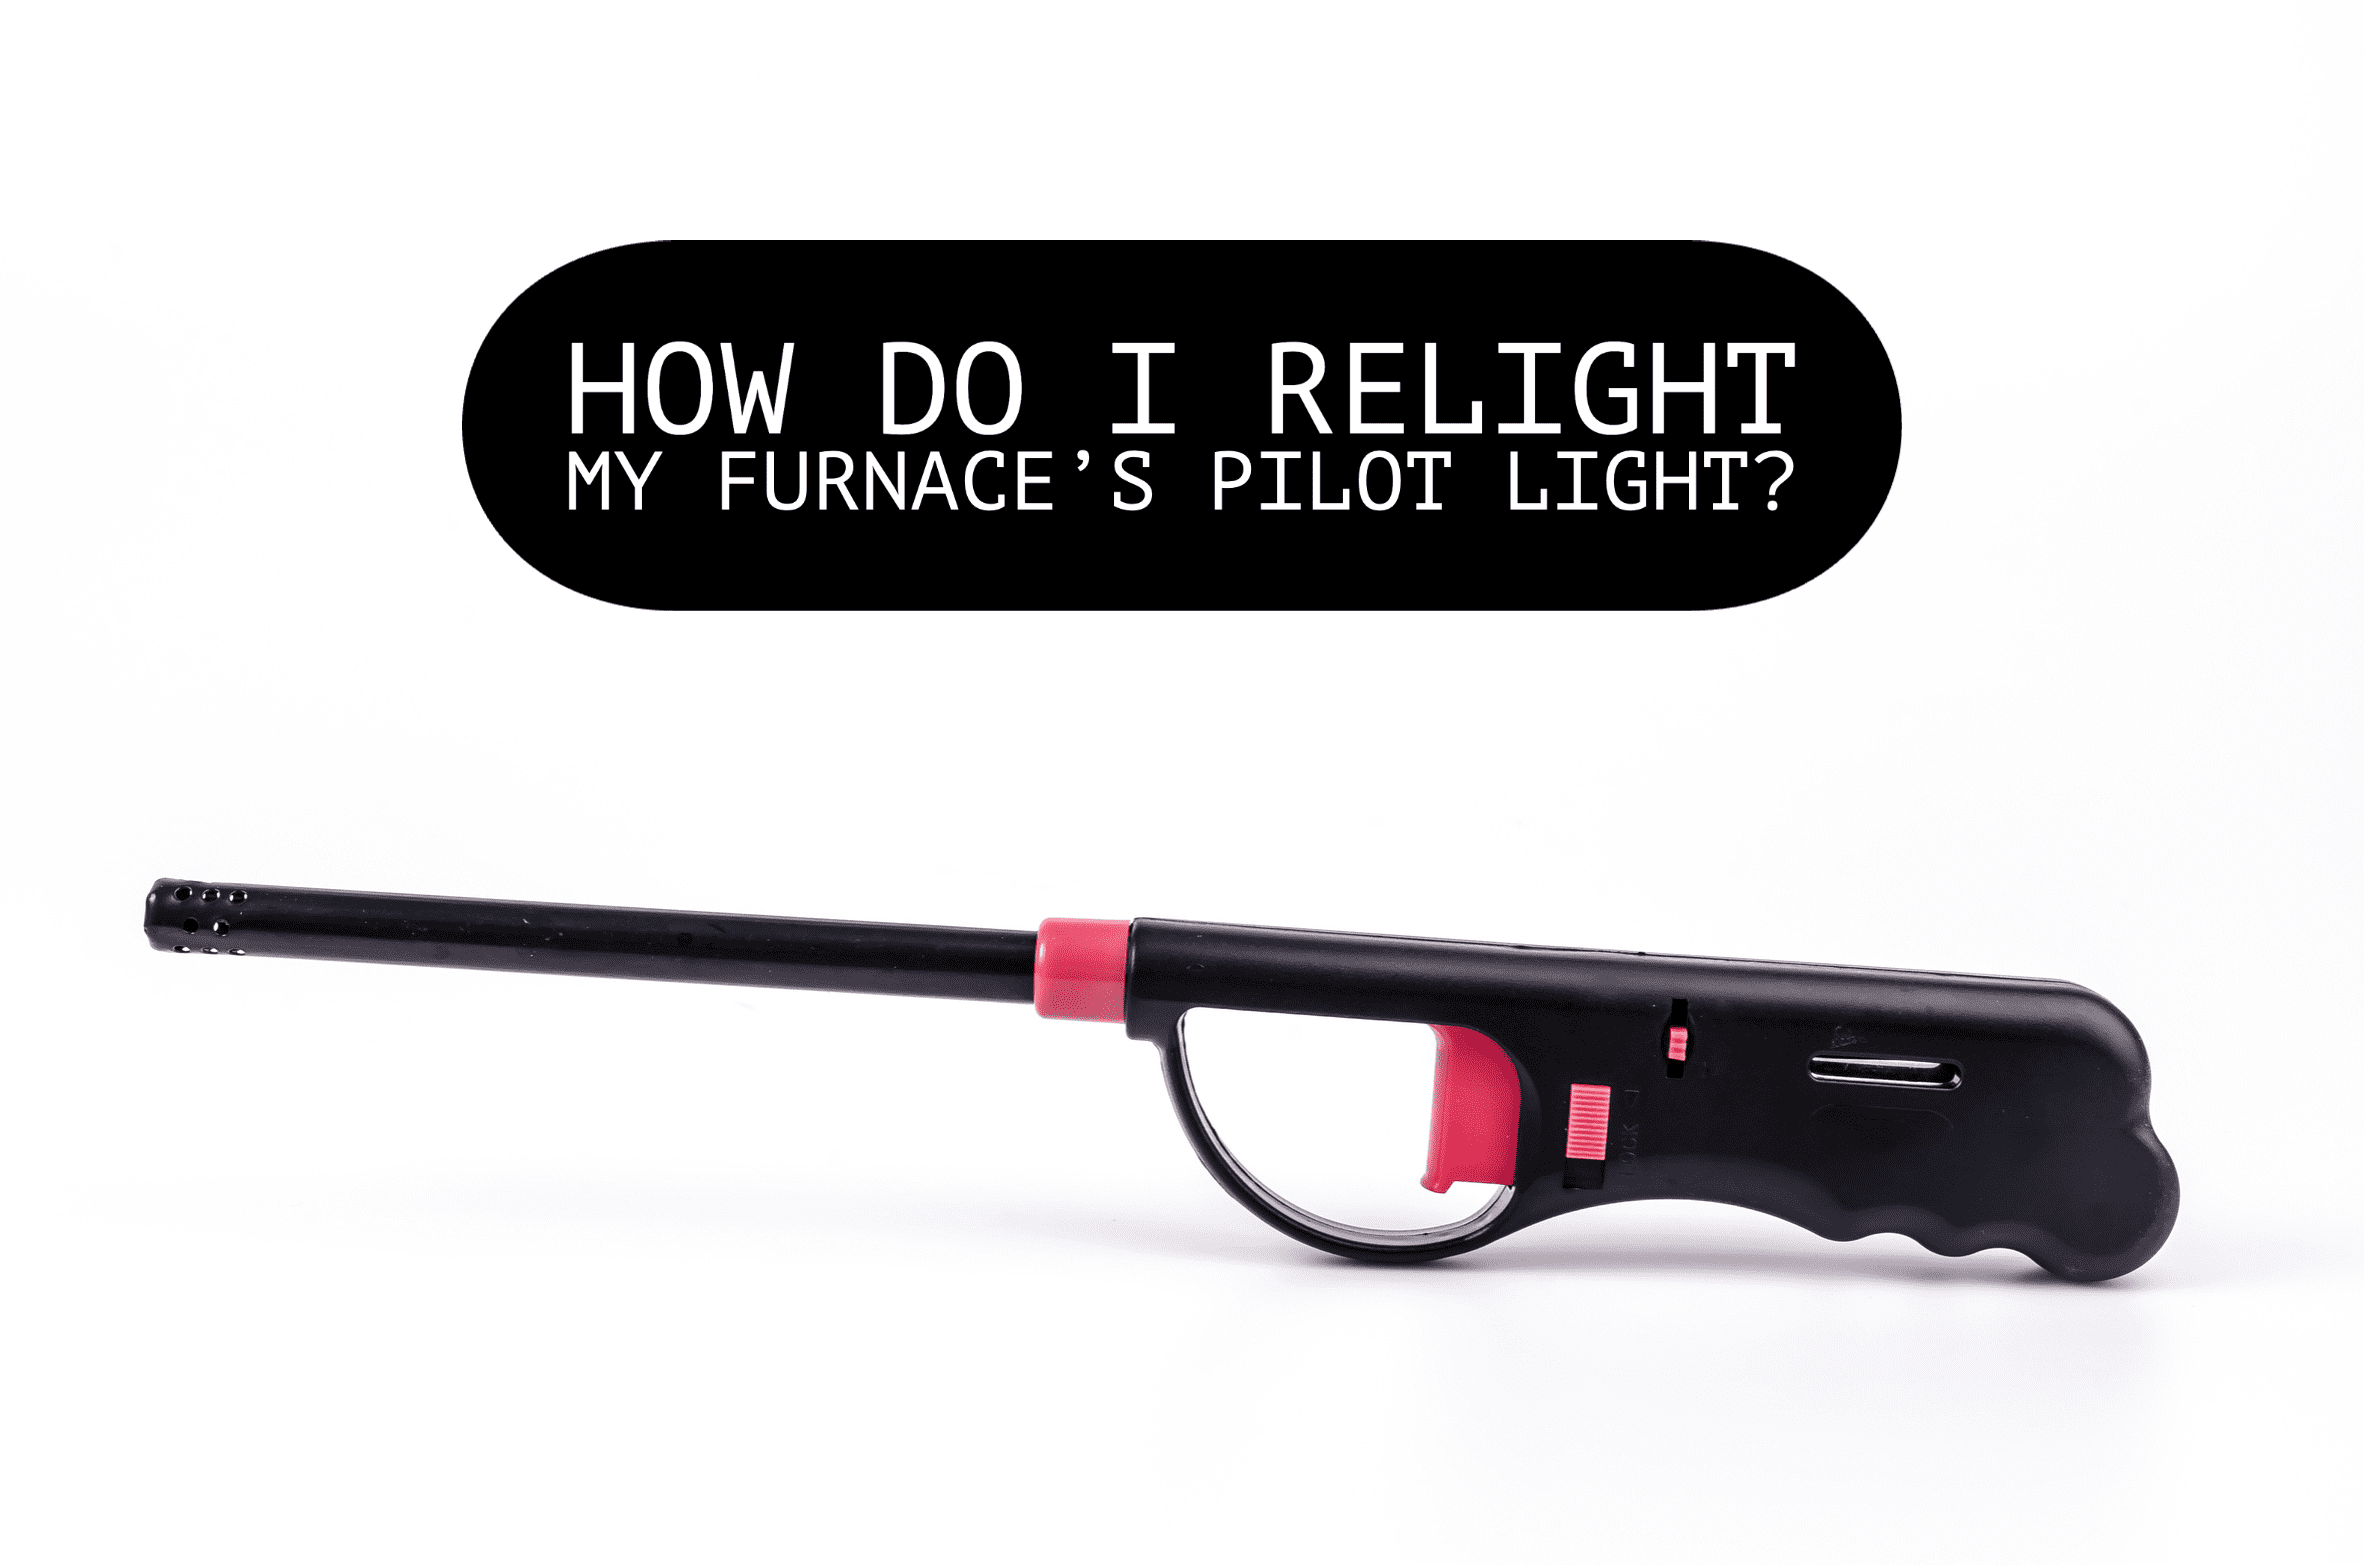
HOW DO I RELIGHT MY FURNACE’S PILOT LIGHT?
- If you’re looking for instructions on how to relight your pilot light, always refer to your equipment manufacturer first if possible. Did you know that most heating units have labels with specific relighting instructions somewhere on the side of the unit? So, if your unit is in an easily accessible and well-lit space, simply following these label directions will be sufficient. However, if you have difficulty locating or reading the label, follow the steps below for general guidance.
- Before you start, check to see if your lighter can reach the pilot light. Long-reach lighters or matchsticks work best.
- Next, find the burner cover on your furnace (if your model has one) and carefully remove it before putting it to the side. Now go ahead and turn off your system by finding your furnace’s off/on switch. Usually, the power switch is located at the base of the unit.
- After you have turned the power off completely, it is now time to turn the gas supply off as well. THIS STEP IS CRUCIAL! Find the gas valve and turn it to the off position.
- Furthermore, keep in mind that after shutting off the gas supply, you must wait at least five minutes in order to allow the gas sufficient time to dissipate. Do not skip this step! If the previously built-up gas does not have enough time to disperse, you will risk causing an explosion or fire in your home.
- In the meantime, you should utilize this time to locate where your pilot light assembly is positioned. But don’t press it yet; just make a mental note of its spot. Typically, the pilot light consists of a knob-like switch that will have the words (or similar wording) indicating “pilot, reset, and on/off.”
- Restart the power after five minutes have passed by turning the knob to “pilot,” then press and hold down the “reset” button. While still keeping the “reset” button pressed, bring an ignited lighter close to the pilot light opening, but be cautious as you move closer since you don’t want to get burned. Once you are close enough, though, the lighter’s flame should ignite the pilot light. When you see the flame spark, you may release your hold on the “reset” switch.”
- Give your HVAC system some time to heat up before warmth starts being blown out of the vents.
- Once you have verified that everything is functioning once again, you may turn the gas supply back on.
- Finally, don’t forget to put that burner cover back on as well!
SHOULD I REPLACE THE THERMOCOUPLE TO GET MY PILOT LIGHT WORKING AGAIN?
If the pilot light is still extinguished after following the aforementioned steps, it’s likely due to a malfunctioning thermocouple or another component. So, unless you’re an HVAC technician with proper licensing, we advise against attempting to fix it yourself. Don’t hesitate to give us a call so we can have one of our highly-trained NATE-certified technicians come out to your home to diagnose the problem for you.
If you’re experiencing difficulty with a pilot light that continues to keep going out, don’t hesitate to call us. We’ll send one of our certified Mason Heating & Air technicians to your house to examine the issue and provide a resolution that will leave you contented and comfortable in your own home. Call us for all your HVAC needs at (513) 496-2477, or schedule an appointment online now by clicking here!


